
Most neck, back, and wrist pain comes from fixable habits: a tilted monitor, a keyboard set too far away, or a chair with no lumbar support. Tilting your neck 45° can load nearly 50 pounds of force onto your cervical spine. Fix your desk and chair height, set your monitor at eye level, and keep your keyboard close. These small adjustments add up—stick around and you’ll find exactly how to make each one work for you.
TLDR Key Takeaways
- Set desk height so elbows rest at 90°, with keyboard and mouse close to avoid shoulder strain.
- Position monitor top at eye level, arm’s length away, tilted back 10–20° to prevent neck flexion.
- Sit fully back in your chair with lumbar support and feet flat to reduce lower-back strain.
- Take movement breaks every 30–60 minutes, stretching or standing for 3–5 minutes each time.
- Alternate sitting and standing, keeping shoes supportive and monitor at eye level to ease pain.
Why Your Desk Setup Causes Neck and Back Pain
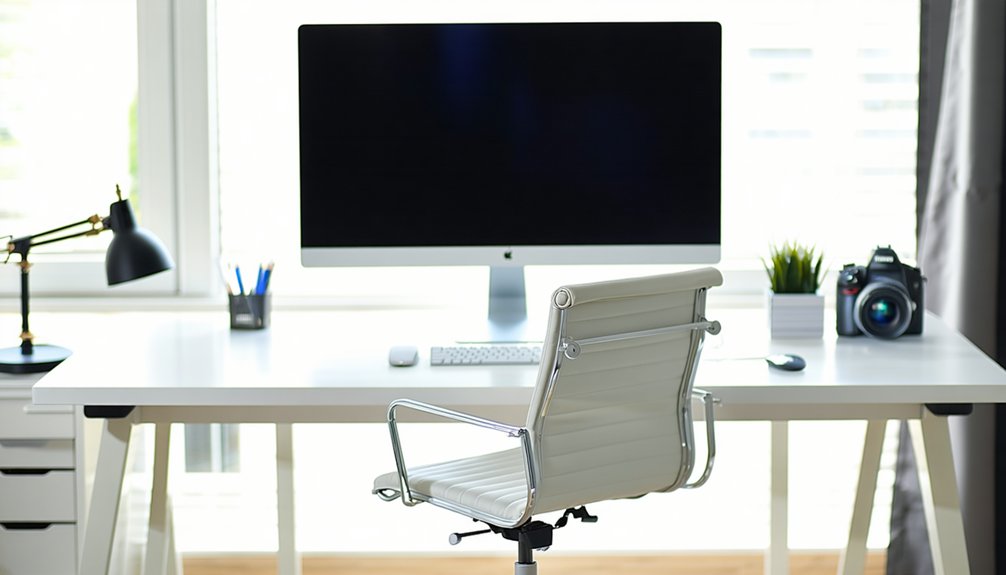
Because most desks aren’t built with your body in mind, everyday habits at your workstation quietly set the stage for neck and back pain. Your monitor’s screen tilt and distance force your head into forward or downward positions, straining cervical muscles with every glance. Sitting without lumbar support lets your spine slump, while a keyboard or mouse placed too far pulls your shoulders forward and tightens your upper back. Even small choices—like cradling your phone against your shoulder or skipping a document holder—compound the strain.
You don’t have to accept this. Adjust your screen height, support your lower back, and keep your arms at 90 degrees. Add neck microbreaks every 30–60 minutes to release tension before it takes hold. Small corrections free your body from unnecessary pain. Remember that tilting your neck to just 45 degrees can place nearly 50 pounds of force on it, making these adjustments even more critical. Your eyes should also stay level with the center of the monitor, not the top, to keep your neck in a neutral position throughout the day.
Best Desk Height for an Ergonomic Setup
Once you’ve tackled screen position and lumbar support, your desk height deserves the same attention. Get it wrong, and you’re locked into hunched shoulders or straining wrists—no amount of seat depth or arm rest adjustment will fix a desk that’s fundamentally off.
For sitting, aim for 28-30 inches, letting your elbows rest at 90 degrees with forearms parallel to the ground. For standing setups, 37-47 inches is your range, adjusted to your height. Calculate precisely: subtract 8.5 inches from your total height (shoes included) for minimum desk height, or 6 inches for maximum.
Check your seat depth allows knees to bend at 90 degrees, thighs parallel to the floor, with your feet flat on the floor for stability. Adjust arm rests so shoulders stay relaxed, not hiked up. If you’re setting up a workstation for multiple people, consider a height adjustable desk to accommodate everyone comfortably. Beyond desk height, your monitor should be tilted 10–20 degrees with the top third of the screen at eye level for a straight gaze. Your body dictates the numbers—not the other way around.
Fix Your Chair Height and Posture First
Your chair height sets the foundation for everything else—get it wrong, and even a perfectly positioned desk won’t save you.
Start with your feet flat on the floor, knees bent near 90 degrees, and hips level or slightly above them. This range reflects OSHA’s definition of neutral posture.
Sit all the way back so the backrest supports your lower spine’s natural curve, keeping your pelvis neutral—not tucked, not tilted.
Check seat depth next: you should slide two fingers between the seat edge and the back of your knees. Use the seat slider to fine-tune this seat depth until the gap feels right.
Too deep, and you’ll lose lower back support; too shallow, and your thighs won’t be fully backed.
Finally, adjust armrest rotation so your forearms rest fully on the pads, elbows at 90 degrees, shoulders relaxed. As a general rule, your optimal seat height is calculated by subtracting 10 inches from your work surface height.
This isn’t about rigid rules—it’s about freeing your body to move without pain.
Get Your Monitor to the Right Height and Distance
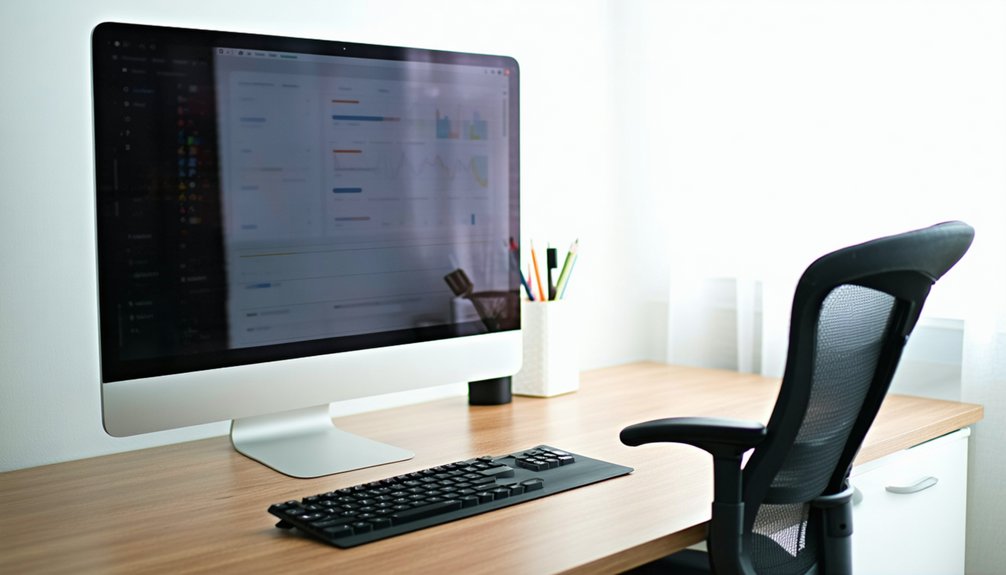
With your chair dialed in, turn your attention to the monitor—the second pillar of a pain-free setup. Position the top of the screen at or slightly below eye level, letting the top third align naturally with your gaze. This monitor calibration creates a 10–20° downward angle that keeps your neck neutral. If you wear bifocals or progressives, drop the screen 2–3 inches lower.
Sit an arm’s length away—50–70 cm for standard monitors, 80–100 cm for 32-inch displays. Extend your arm; your fingertips should just graze the screen. Tilt the display back 10–20 degrees so your eyes rest near the top third without craning. If you find yourself struggling to read text clearly at this distance, increase the font size rather than leaning in closer, since shortening the distance raises eye strain risk.
Don’t overlook glare reduction—reposition the screen away from windows or overhead lights to prevent squinting and forward-leaning postures. For the best results, position your monitor 90° to windows so reflections and bright spots don’t force you into awkward angles to see the screen clearly. Whatever your screen size, you should be able to see the full screen view without moving your head or neck up or down.
Position Your Keyboard and Mouse to Protect Your Wrists
Round out your setup by dialing in the keyboard and mouse—the third pillar of pain-free ergonomics. Set both at resting elbow height, keeping your forearms parallel to the floor and elbows bent 90–110 degrees, close to your torso.
Skip rigid forearm support while typing; float your hands instead, keeping wrists straight and neutral—never bent up, down, or sideways.
Mouse placement matters just as much: keep it level with your keyboard, right beside it, within easy reach to avoid stretching or lateral reaching. Choose a mouse that fits your hand—no pinching, no spreading—and move it from your elbow or shoulder, not your wrist. A good mouse should also be as flat as possible to minimize wrist extension throughout the day.
Reserve wrist supports for breaks only, and stretch hourly. Small adjustments here free you from strain and let you work without limits.
Set Up Lighting That Doesn’t Strain Your Eyes
In addition to posture and desk setup, lighting shapes how your eyes hold up over an eight-hour shift. Aim for 300–500 lux on your workspace, keeping ambient light at 150–300 lux so nothing overpowers your screen. Match ambient color to your schedule: 4000–5000K by day, warming to 2700–3000K in the evening for circadian support.
Position your desk so windows sit perpendicular to your monitor, and place task lamps 16–24 inches up at a 30–45° angle, opposite your dominant hand. Add bias lighting behind your screen at roughly 10% of its brightness to cut contrast strain. Choose LED fixtures with a CRI of 90+, diffuse harsh natural light with sheer curtains, and skip reflective surfaces that scatter glare unpredictably. Positioning a lamp with adjustable brightness and color temperature to the side of your monitor also helps minimize the eye strain that comes from mismatched lighting sources. Monitor light bars can also provide desk illumination up to 500 lx without creating the screen glare that traditional desk lamps often cause. Also check that your lights are truly flicker-free, since invisible flicker from cheap drivers can trigger headaches and eye strain even when brightness levels seem correct.
Standing Desks: Do They Really Fix Posture Problems?
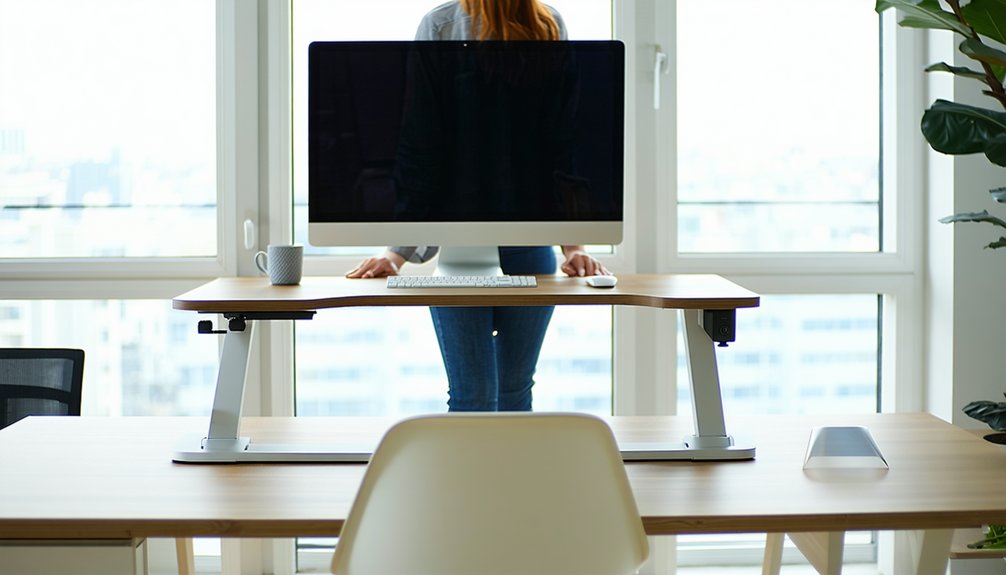
Why does everyone suddenly want a standing desk? Because it works—when you use it right. Standing encourages an upright stance, keeping your shoulders back and your head stacked over your spine instead of jutting forward. Studies back this up: workers with forward head posture report less neck and shoulder pain, and sit-stand desk users saw a 32% drop in low back pain.
But a standing desk isn’t a magic fix. You need active standing—shifting weight, engaging your core, alternating positions—paired with real posture coaching to lock in proper alignment. Stand for one hour per two seated, wear supportive shoes, and set your monitor at eye level. Freedom from desk pain comes from movement, not just standing still.
How Often Should You Take Movement Breaks?
How Often Should You Take Movement Breaks? You don’t need to overhaul your day—just interrupt it. Research points to every 30–60 minutes as the practical window for breaking up sitting. Can’t manage 30? Sixty minutes still delivers real benefits without feeling forced.
Set posture timers on your phone or computer, or try apps like Stretchly to keep you accountable. When they go off, don’t ignore them—stand, stretch, or walk for 3–5 minutes.
Between alerts, sneak in micro stretches: shoulder rolls, neck tilts, or a quick arm shake. These 1–2 minute resets keep blood flowing without derailing focus.
If you’re deep in concentration work, stretch that window to 60–90 minutes. Your body—and your posture—will thank you for staying consistent.
The 20-20-20 Rule for Eye and Neck Relief
Your eyes need more than posture fixes—they need regular resets from near-focus strain. The 20-20-20 rule cuts through digital eye strain: every 20 minutes, look at something 20 feet away for 20 seconds. This isn’t just eye theory—it’s one of the simplest screen exercises you can build into your day. Trees, buildings, or a distant wall all count; outdoor viewing works especially well if you’re near a window.
This break does double duty. While your eyes reset, stretch your neck and shoulders too. Set a timer or app to keep yourself consistent—willpower alone won’t cut it.
Results vary person to person, and the exact numbers aren’t heavily researched. Still, any break beats none. Aim for at least one or two per hour, and don’t skip your annual eye exam.
Simple Stretches to Break the Head-Forward Slouch

Sitting hunched over a keyboard for hours drags your head forward and rounds your shoulders, but a few targeted stretches can pull you back into alignment.
Start with chin tucks: guide your chin back with two fingers, hold 3-5 seconds, and repeat 10 times for 2-3 sets daily—this cervical mobilization rebuilds strength in weakened neck muscles.
Next, stretch your upper trapezius by pulling your head gently toward your chest, holding 20-30 seconds per side.
Tilt and rotate your head to release tight scalenes.
Open your chest against a wall or doorway to counter forward slouch, then squeeze your shoulder blades together to fire up your rhomboids.
These moves sharpen postural awareness, freeing your body from the grip of desk-bound tension.
Split Keyboards, Trackballs, and Other Ergonomic Upgrades
While stretches loosen tight muscles, they can’t fix a keyboard that forces your wrists inward all day. That’s where split keyboards come in. By dividing keys into two halves, you position each at shoulder width, cutting ulnar deviation by up to 25° and wrist extension by 6°. Many models use ortholinear layouts, ditching staggered rows to align your fingers naturally.
Pair your split keyboard with a trackball. It eliminates arm movement, keeps your wrist neutral, and frees up desk space—especially with compact 40%–60% designs.
Add tenting (around 12°) to keep your carpal tunnel open, and use palm supports that cushion your palms without pressing on your wrists. Expect a 1–3 week adjustment period—your speed won’t suffer, and your body will thank you.
Quick Habits That Ease Neck and Back Discomfort
Often, neck and back pain start with something as simple as monitor height. Fix that first: eye level, no tilting down. Then build in micro breaks—every 30 to 60 minutes, stand, stretch, or shift position before stiffness sets in. Pair these with hydration prompts; getting up for water forces movement you’d otherwise skip.
Small habits compound fast. Roll your shoulders forward and back five times each. Squeeze your shoulder blades together for 15 seconds, a few rounds a day. Tilt your head chin-to-chest, then side-to-side, to release tension building in your neck.
You don’t need a gym or fancy equipment—just consistency. Set a timer, honor it, and let your body reset before pain forces you to stop.
Frequently Asked Questions
How Long Does It Take to Adjust to a New Ergonomic Setup?
You’ll typically adjust within 2–4 weeks. That’s your setup timeline for muscle adaptation, forming a solid posture habit, and gaining visual comfort with your new gear. Stay consistent, and you’ll break free into lasting comfort!
Can Poor Desk Ergonomics Cause Permanent Damage Over Time?
Yes—you’re risking real, lasting harm. Ignore poor setups long enough, and you’ll face nerve compression like carpal tunnel plus joint degeneration in your spine. Fix your ergonomics now; you’ll protect your body’s freedom to move without pain later.
Is It Worth Buying an Expensive Ergonomic Chair Versus a Cheap One?
You don’t need to overspend—you need smart spending. Prioritize adjustable features and material quality over price tags. A $200 chair with proper lumbar support often frees you from pain just as effectively as premium options costing ten times more.
Does Laptop Use Make Ergonomic Desk Setups Harder to Achieve?
Yes, you’re fighting a fixed design forcing neck and wrist strain. But you’re not stuck: grab portable stands to lift your screen, pair hinge keyboards for neutral wrists, and reclaim desktop-level freedom anywhere you sit.
Can Children or Teens Benefit From Ergonomic Desk Adjustments Too?
Yes—you’ll see real gains. Adjustable desks support child posture during growth spurts, cutting joint issues by 32%. Combined with proper backpack load management, you’re freeing kids from strain, enhancing focus, and building lifelong movement freedom.
Conclusion
You don’t need a $2,000 setup to fix desk pain—you need the right angles. Adjust your chair, align your monitor, and keep your wrists neutral. Add the 20-20-20 rule and a few daily stretches, and you’ll counteract hours of sitting. Small changes compound: fifteen minutes of setup tweaks today can save you months of chronic pain later. Start with one fix, test it for a week, then adjust again.
References
- https://www.osswf.com/ergonomic-tips-for-office-workers-preventing-hand-wrist-elbow-strain/
- https://www.benchmarkpt.com/blog/5-ergonomic-tips-for-wrist-pain-if-you-sit-at-a-desk/
- https://www.hopkinsmedicine.org/health/conditions-and-diseases/back-pain/addressing-neck-and-back-pain-when-youre-working-from-home
- https://www.mayoclinic.org/healthy-lifestyle/adult-health/in-depth/office-ergonomics/art-20046169
- https://www.youtube.com/watch?v=x12GnuV9Qgw&vl=en
- https://www.youtube.com/watch?v=riD8Xt8r1MQ
- https://ossurgical.com/news/a-cure-for-a-pain-in-the-neck-an-ergonomic-workstation
- https://www.spine-health.com/conditions/neck-pain/workplace-ergonomics-and-neck-pain
- https://www.reddit.com/r/Ergonomics/comments/1lw9pfg/desk_set_up_neck_pain/
- https://www.facebook.com/groups/bodybybobs/posts/3075867445896770/

