
You don’t need a renovation to make your home healthier—small, consistent changes go a long way. Open windows daily for cross-ventilation, run your range hood while cooking, and swap in a MERV-13 filter. Vacuum with a HEPA-sealed machine, control humidity between 30-50%, and seal gaps pests exploit. Ditch plastics gradually, filter your water, and choose organic strategically. Keep exploring below for the details that make each step actually work.
TLDR Key Takeaways
- Cross-ventilate daily using opposite windows and open doors, especially during low-pollution morning or afternoon windows.
- Upgrade to a MERV-13 filter and add a portable HEPA/charcoal unit instead of replacing your HVAC system.
- Switch to vinegar, baking soda, and hydrogen peroxide to cut VOC exposure without new appliances.
- Control humidity between 30-50% using dehumidifiers, exhaust fans, and prompt leak repairs to prevent mold.
- Seal gaps, vents, and chimneys with mesh, caulk, and weatherstripping to block pests affordably.
Start With 5 Minutes of Daily Cross Ventilation
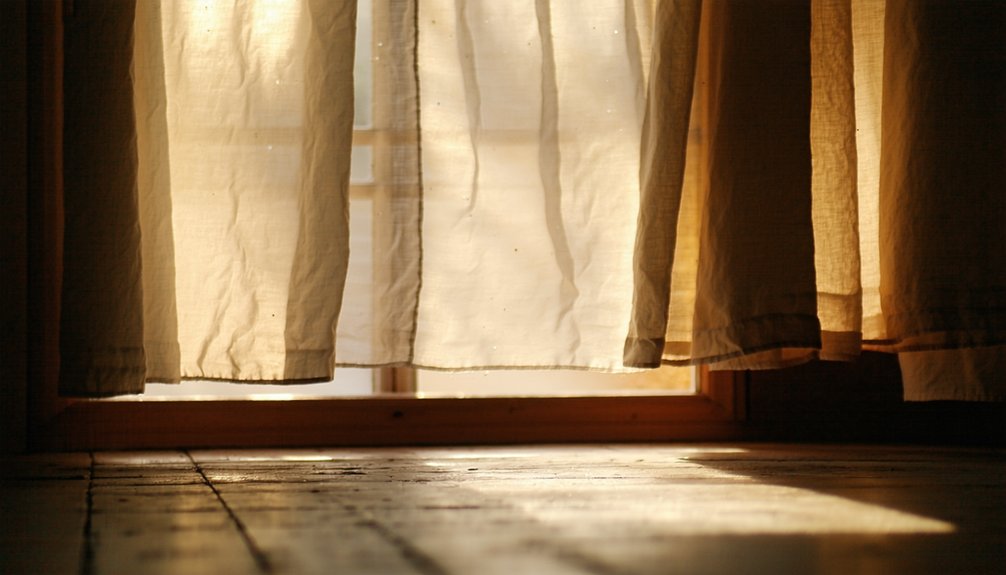
Often, the simplest fixes deliver the biggest gains, and cross ventilation proves it. You don’t need new windows or ductwork—just five minutes and the right window pairing. Open windows on opposite sides of your home: full open on the wind-facing side, slightly cracked on the other. This creates airflow three times faster than opening a single window.
Keep interior doors open so fresh air travels freely through every room.
Make the morning purge your anchor habit. Five minutes in winter is enough for complete air exchange without losing heat. Schedule sessions between 9–11 AM or 2–5 PM, when outdoor pollution dips. Skip rush hours entirely. Much like short bursts of movement throughout the day can add up to meaningful health benefits, a brief daily ventilation habit compounds over time to keep your home consistently fresher. Just as adjustable intensity settings on exercise equipment allow you to tailor a workout to your needs, adjusting the degree of window opening lets you customize airflow to the day’s conditions. Beyond comfort, this habit matters for your mind too, since reducing indoor CO₂ through ventilation has been shown to improve cognitive function by as much as 61 percent.
This small daily act frees your lungs, your home, and your routine from stagnant air.
Cut Airborne Toxins Without Replacing Your HVAC System
Tackle indoor air quality at the source before you spend a dime on new equipment. Swap in low-VOC cleaning products, ditch indoor candles and tobacco, and seal away pesticides. These moves alone cut the toxic load you’re breathing daily.
Next, upgrade your kitchen ventilation habits—run the range hood every time you cook, even dry methods, to clear nitrogen dioxide and grease aerosols. Pair that with a MERV-13 HVAC filter swapped every 1–3 months for cheap, effective filtration. If you’re relying on fuel-burning appliances anywhere in the home, have them inspected yearly by a qualified professional and install a certified carbon monoxide alarm near sleeping areas.
Fill the gaps with portable filtration: a HEPA unit with a charcoal layer handles odors and VOCs your system misses. Keep in mind that these units are generally designed for particles and are not usually effective against gaseous pollutants. Position it smartly, and remember that maintaining indoor humidity between 30% and 50% also helps limit mold growth and dust mite survival. Clean it regularly, and you’ve built real protection—no system replacement required.
Tackle Dust and Allergens With the Right Vacuum Routine
Once you’ve filtered the air you breathe, turn your attention to the dust settling on every surface below it. You don’t need a new vacuum ecosystem—just the right one. Choose a sealed filtration system scoring 8.0 or higher on particle capture, paired with a power head that removes three times more allergens than standard uprights.
Then change how you move. Vacuum slowly, about one foot per second, in overlapping north-south and east-west passes—four times per area. Fast strokes miss up to 60% of embedded dust mites.
Don’t stop at floors. Upholstery maintenance matters just as much: sofas, mattresses, and curtains harbor allergens floors don’t. Vacuum high-traffic zones twice weekly, everything else weekly, and empty bins outdoors to keep dust from reclaiming your air. Models with HEPA filtration capture 99.97% of particles as small as 0.3 microns, making them especially effective for allergy-prone households. If you use a bagless model, this outdoor emptying habit is especially important, since emptying bagless canisters indoors has been shown to spike short-term airborne allergen levels.
Keep Humidity in Check to Stop Mold Before It Starts
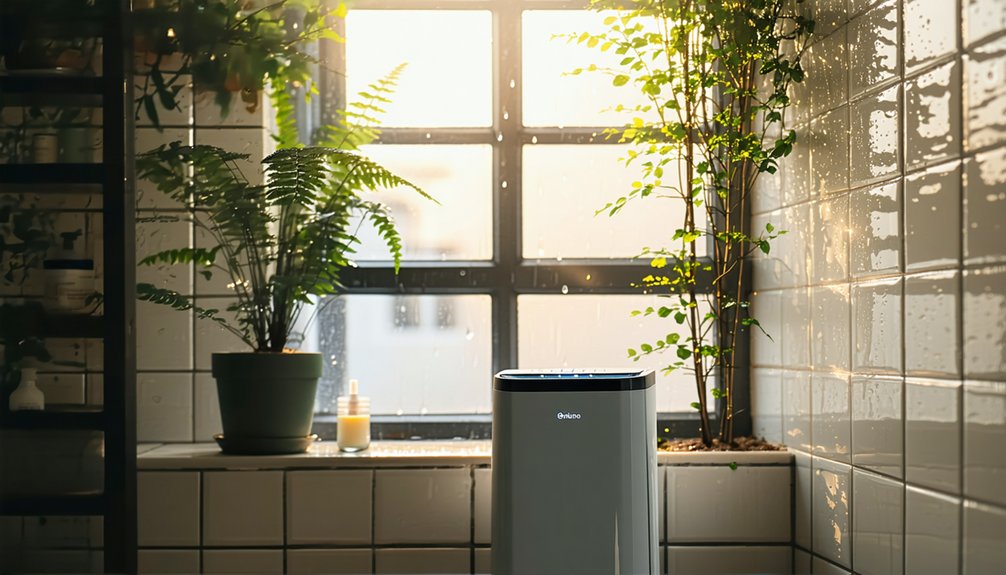
Mold quietly waits for one thing: moisture. Deny it that, and you take back control of your home’s air. Keep relative humidity between 30% and 50%—never above 60%—and set your thermostat to 68–72°F, since mold thrives in warmer 77–87°F conditions.
Start with humidity mapping: place hygrometers in kitchens, bathrooms, and crawl spaces (aim for 45–55% there) to catch problem zones early. Run exhaust fans during and after showers, vent dryers and stoves outside, and use dehumidifiers where moisture lingers.
Don’t ignore your building’s shell—vapor barriers and proper insulation stop condensation before it starts. Fix leaks fast, dry damp materials within 24–48 hours, and maintain your ductwork. Keep an eye on your air-conditioning drip pans and drain lines, since clogs there can create the hidden moisture mold needs to grow. Left unaddressed, this can lead to structural damage and serious health risks for occupants. Don’t forget your gutters and downspouts, since clogged systems can cause overflow and pooling that raises indoor humidity, so clean them at least twice a year. Small, consistent actions keep mold out for good.
Seal Up Entry Points Pests Love to Exploit
Left unchecked, a hairline crack in your foundation becomes a highway for ants, spiders, and mice looking for shelter. You don’t need a full renovation to shut these pathways down—you need precision. Seal gaps around doors with weatherstripping and sweeps; caulk anything under 1/4 inch near windows and baseboards. For larger voids around utility pipes, expanding foam or steel wool packed with caulk stops entry cold. Don’t ignore your roofline: pest proofing vents with wire mesh keeps flying insects and small animals out of your attic, while chimney caps block another common route.
Walk your home after storms or seasonal shifts. A flashlight and five minutes checking corners beats a full-blown infestation later. Don’t forget to check behind appliances and furniture that sit against walls, since these overlooked spots can hide gaps pests exploit. While you’re at it, take a look inside too—kitchens and bathrooms are common pest hotspots where crumbs and standing water can quietly invite trouble. Small fixes now mean lasting control. If you want a truly thorough approach, a professional can perform a home sealing service that audits every possible entry point in a systematic, multi-step process.
Create a Barrier Between Your Floors and Your Family
Regarding comfort and quiet, what happens between your floors matters as much as what’s on top of them.
You don’t need a full renovation to reclaim your space from noise. Start with a cork underlay beneath your flooring—it absorbs sound within the material itself, cutting transmission before it ever reaches your family below.
Pair that with mineral wool or fiberglass insulation between joists, and you’ve built a real barrier, not just a cosmetic fix.
Seal every gap, seam, and outlet with acoustic sealant—sound finds any opening you leave behind.
Then layer in impact rugs across high-traffic zones. They break the vibration path from footsteps instantly, giving you immediate relief.
Combine these methods. Layering always outperforms relying on one fix alone. If your project feels complex or you’re uncertain which approach fits your floors, consider professional assessment.
Store Paints and Solvents Safely

Rarely do people think of paint cans as active health hazards once the lid’s back on, but they don’t stop off-gassing just because you’ve stopped painting.
Store them at 15–20°C, in a well-ventilated spot away from furnaces or attics that could push past their flash point. Keep lids tightly closed, flip water-based cans upside down, and label everything by contents and hazard class.
Never decant solvents into food jars—that’s a fatal mistake waiting to happen. Practice solvent segregation: don’t let incompatible products sit side by side.
Set up childproof storage with locked cabinets or high shelves, out of pets’ reach too. Check containers weekly for damage, and toss anything with a foul odor immediately—your lungs will thank you.
Swap Toxic Cleaners for Vinegar, Baking Soda, and Peroxide
Because that lemon-scented spray under your sink likely emits far more than a pleasant smell, it’s worth reconsidering what you reach for during cleaning day. Conventional cleaners release hundreds of VOCs, and weekly spray use raises asthma risk by 30–50%.
You don’t need those chemicals to get a clean home—you need effective basics.
Vinegar solutions cut through grime and streak-free glass without leaving toxic residue. Just never mix vinegar with bleach or ammonia; that combination creates poisonous gas.
For stubborn stains in sinks and tubs, a baking soda paste scrubs away buildup without scratching surfaces or releasing fumes.
Hydrogen peroxide disinfects like bleach, minus the harsh byproducts.
Swapping these three staples into your routine frees you from unnecessary chemical exposure—no reformulation required, just simpler, safer choices.
Ditch Plastic in the Kitchen Without a Full Remodel
Your kitchen probably holds the highest concentration of plastic in your entire house, and you don’t need a renovation budget to cut it down.
Start with reusable containers—glass jars from old sauces work as well as anything you’d buy new. Swap cling film for beeswax wraps or simply cover bowls with a plate. Ditch plastic spatulas and cutting boards for bamboo or stainless steel, which won’t shed microplastics into your food.
For hot foods, heat safe alternatives matter most: glass, stainless steel, and silicone tested for additives handle temperature without leaching chemicals. Skip plastic coffee pods for a French press.
None of this requires buying everything at once—replace items as they wear out, and let each swap free you from unnecessary exposure.
Filter Your Drinking Water on a Budget

Most people never test their water before buying a filter, which means they’re often paying for protection they don’t need or missing the protection they do. Start with a lab test or at-home kit to identify what’s actually in your water—lead, PFAS, arsenic, or high TDS. This one step tells you exactly what technology you need.
Once you know your enemy, budget pitchers like Santevia MINA or Epic Pure handle basic contaminants for under $50, with replacement filters costing less than $15. If your water demands more, faucet upgrades deliver faster flow and broader removal without gutting your kitchen. Clearly Filtered or ZeroWater tackle tougher contaminants when testing reveals the need.
Skip the guesswork. Test first, filter smart, and keep more money in your pocket.
Choose Organic Produce Strategically
Just like water filtering, you don’t need to buy everything organic to cut your pesticide exposure—you just need to know where the risk actually lives. Strawberries, peaches, and sweet bell peppers rank high-risk—prioritize your organic dollars there. Onions, oranges, and US or Mexican broccoli stay low-risk conventional, so skip the markup. This is budget prioritization: spend where contamination is real, save where it isn’t.
Can’t find organic strawberries? Swap in conventional raspberries or blueberries instead. Skip fresh peaches for canned when organic isn’t available. Practice seasonal switching—buy what’s in season locally, since it’s fresher, cheaper, and often lower-risk than out-of-season imports. Wash conventional produce thoroughly, choose low-risk grape regions, and let evidence—not fear—guide every choice you make.
Optimize Your Bedroom for Better Sleep
While filtering water and prioritizing organic produce address what goes into your body, the bedroom addresses how well your body recovers overnight—and temperature is the first lever to pull. Set your thermostat between 60°F and 67°F, and swap synthetic sheets for breathable cotton, bamboo, or silk. Cooling bedding matters more than a fancy mattress—ditch heat-trapping foam toppers for lightweight, moisture-wicking covers instead.
Darkness comes next. Invest in blackout solutions—thick curtains or blinds—to eliminate outside light entirely. Cover clock displays, banish phones from arm’s reach, and use a sleep mask if total darkness isn’t achievable.
Finally, quiet the space. Rugs dampen floor noise, white noise machines mask disruptions, and a box fan handles both cooling and sound simultaneously. Small changes, real control over your recovery.
Frequently Asked Questions
How Long Does It Take to Notice a Difference in Indoor Air Quality?
You’ll notice short term improvements within 30 minutes to 2 hours as dust clears, while allergy symptoms ease in 3-7 days. Long term benefits—maximum relief and fewer triggers—emerge after consistent use over 2-4 weeks. Stay patient; freedom from stale air is coming!
Is It Safe to Do These Changes if I Have Pets at Home?
Yes, you’re free to make these changes safely. Choose pet safe, non toxic cleaners, verify indoor plants aren’t toxic varieties, and switch to hypoallergenic bedding. You’re creating a healthier space for everyone—no compromises, no hidden risks.
Can Renters Implement These Tips Without Violating Lease Agreements?
Yes, you can stick to temporary alterations—contact paper, smart bulbs, freestanding units—without landlord approval. For fixture swaps, save originals and get written consent first. Document everything; you’ll reclaim your space while protecting your deposit and freedom.
What’s the Most Cost-Effective Change to Start With on a Tight Budget?
Start with weather-stripping and decluttering—both cost almost nothing. Store food in sealed containers to cut pests and waste, then switch to LED lighting for instant energy savings. Small, free choices build real independence fast.
How Often Should I Repeat These Routines to Maintain a Healthier Home?
You’ll repeat safety checks daily rotation—cords, meds, lighting—then tackle seasonal deep cleaning four times yearly for vents, filters, and hidden buildup. This rhythm keeps you in control, catching hazards early without overhauling your entire home or draining your budget.
Conclusion
You don’t need a renovation budget to build a healthier home—you need consistency. Cracking windows for five minutes, swapping plastic containers, checking humidity levels, and vacuuming with a HEPA filter all add up fast. Start with one or two changes this week, then layer in more. Small, evidence-backed habits compound over time, cutting your exposure to toxins, allergens, and pests without touching your HVAC system or floor plan.
References
- https://www.youtube.com/watch?v=0WvUwWVOknc
- https://www.youtube.com/watch?v=nn6DAuPLkfo
- https://makeitright.ca/holmes-advice/home-safety-maintenance/7-tips-to-building-a-healthy-home/
- https://www.webmd.com/a-to-z-guides/features/affordable-ways-to-make-home-safer
- https://www.youtube.com/watch?v=9bnMQwboMaU
- https://www.sciencefocus.com/wellbeing/how-to-create-a-healthier-home
- https://50isnotold.com/household-swaps-healthier-home/
- https://www1.eere.energy.gov/buildings/publications/pdfs/building_america/32114.pdf
- https://homes.forhealth.org/wp-content/uploads/sites/9/2019/05/Harvard_Healthy_Buildings_Program_Homes_for_Health_May-2019.pdf
- https://www.uchicagomedicineadventhealth.org/blog/5-minute-movement-challenge-simple-steps-heart-health-and-everyday-wellness

