
Rucking turns an ordinary walk into strength training by adding a weighted pack to your back. You’ll start with roughly 10% of your bodyweight, walk 1-3 miles at a conversational pace, and build gradually over weeks. This simple load enhances leg strength, activates your glutes, and improves bone density and VO2 max over time. Get your gear, weight, and progression right, and you’ll reveal a full-body workout hiding inside a simple walk.
TLDR Key Takeaways
- Rucking adds a weighted backpack to walking, boosting VO2 max, strength, and bone density over time.
- Start with 10% of bodyweight (or 5–8% if older/deconditioned), holding that load for two weeks before increasing.
- Use a 20–40L padded pack, 45-lb steel plates or alternatives, and supportive boots with a wide toe box.
- Walk 1–3 miles at a conversational 15–20 min/mi pace, keeping spine tall and steps short and quick.
- Progress gradually: never raise weight and distance together, and drop 5 lbs if talking becomes difficult.
What Is Rucking, and Why Does It Work?
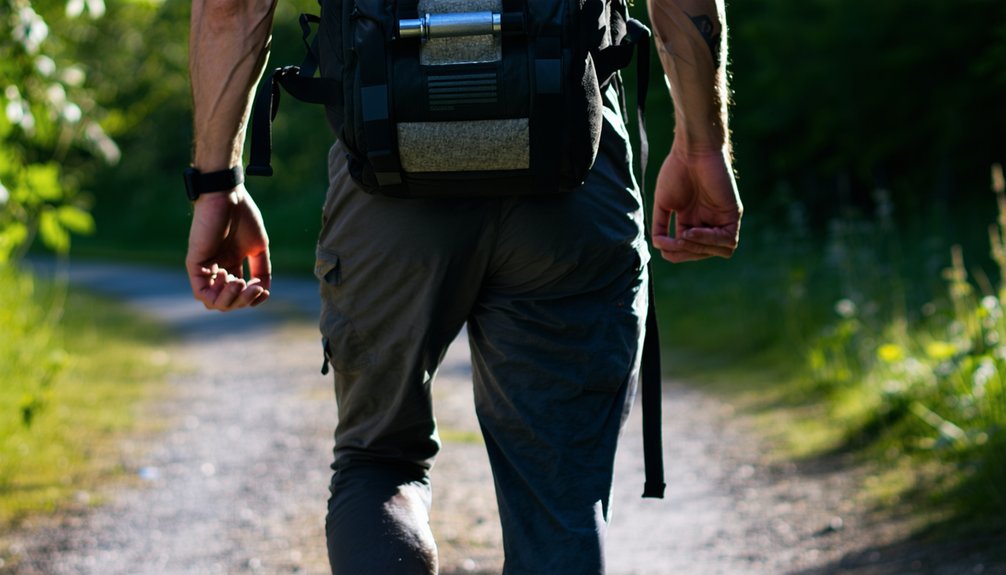
Strapping on a weighted backpack and hitting the trail turns an ordinary walk into rucking—a workout that’s simpler than it sounds. The name comes from “rucksack,” a term that originated from the German word der Rücken, meaning “the back,” combined with the word for sack. Its history origins trace back to military training, where soldiers marched with loaded packs to build endurance—sometimes called “tabbing” or “yomping.” Unlike backpacking, you’re not aiming for a destination; you’re conditioning your body with purpose.
The biomechanics overview is straightforward: added weight forces your legs to work as long levers, fires up your glutes, and demands a stable, hollowed midline to keep your torso steady. That extra load stresses your bones, enhancing density, while your muscles adapt over time, making the effort feel lighter. Research even shows that a 10-week rucking program can improve VO2 max in healthy men. Beyond aerobic gains, this kind of training also builds muscle strength and power, which supports functional movement as you age. You’re not just walking—you’re rebuilding strength, one deliberate stride at a time, free from gym machines or complicated routines.
Gear Up: The Backpack, Boots, and Weight You Need
Grab the right pack before you grab the weight. Look for 20-40 liters, a padded hip belt, and dedicated plate compartments that keep load high and tight. Skip complex travel features—simple geometry wins. The GoRuck Rucker 4.0 leads the pack; budget-conscious rebels can start with ALICE packs or the 5.11 RUSH 24.
Your boots matter just as much. Choose sturdy, ankle-supportive footwear with a wide toe box and aggressive rubber outsoles. Ditch minimal-heel running shoes. Commit to boot break in before your first heavy ruck—your feet will thank you.
For weight, 45-pound steel plates work best, but rice bags or water jugs get the job done. As a rule of thumb, beginners should start with a load of 10–15% of bodyweight before working up to heavier carries. Frontline Athletic packs feature two staggered plate pockets with double velcro flaps to keep steel plates secure and riding close to your back. Pack maintenance—cinching straps, eliminating air pockets—keeps everything stable and your body free to move.
How Much Weight Should Beginners Start With?
Once your pack and boots are sorted, the next question is how much weight to actually load in. Skip guesswork—use a start weight chart based on body weight, not gender differences: 10% is the standard baseline for most able-bodied beginners, while deconditioned or older individuals should stick to 5–8%.
If you’re brand-new to exercise, start near 5 lb. If you’ve got prior strength training, 10–20 lb works. Hold that load for two weeks before adding anything—this locks in form before load increases.
Progress toward 15–20% of body weight over 8–12 weeks, capping at 25% where injury risk spikes. As a guardrail, conditioned soldiers are capped at one-third of body weight per military guidance, and beginners should stay well below that ceiling. If your stride starts to shuffle or your pack begins to bounce with each step, that’s a clear sign it’s too heavy. Increasing weight or mileage by more than 10 percent in a single week is one of the fastest ways to invite injury, so change only one variable at a time. Your body sets the pace, not the calendar. Freedom comes from patience, not shortcuts.
Choose Your Starting Distance and Pace

Picking a distance and pace matters just as much as picking your load. Start with 1–3 miles on flat terrain, and keep sessions to 20–30 minutes total.
Most beginners cover 2–3 miles in 40–60 minutes at a conversational pace—somewhere between 15–20 minutes per mile. That range trains your body without wrecking it. In fact, beginners commonly start at a pace of 17:00–21:00 min/mi regardless of ruck weight, with improvement coming through consistency.
Trust your pace perception over the clock. If you can’t hold a conversation, or you’re crawling past 20 minutes per mile, drop the weight before you drop the mission.
Flat sidewalks and paved paths are your training ground for now—save hills for later.
Practice recovery pacing between sessions, too. Give your body 48 hours before rucking again, and let your legs tell you when they’re ready for more. Aim for 2–3 rucks per week to build consistency while allowing adequate recovery. Beyond pacing, rucking also offers a major metabolic advantage, since it burns about 3X the amount of calories as regular walking.
Build Your First Two Weeks of Rucking Workouts
Turning your pacing knowledge into a real plan starts with structure.
In Week 1, load 10 lbs (women) or 20 lbs (men)—roughly 10% of body weight—and hit a flat, familiar route twice on non-consecutive days. Keep pace conversational, between 17-19 minutes per mile, and check your form every five minutes.
Week 2 builds on this foundation: push distance to 2-3 miles, add sessions to 2-3 weekly, and introduce gentle terrain. Only add 5 lbs if last week felt easy. Add no more than 0.5–1 mile per week to protect your joints and connective tissue as you progress.
Your hydration strategies matter here—carry 32oz of water on light days.
Dial in meal timing too, fueling an hour before rucking so energy stays steady. Stick with this two-week plan for a full 4 weeks before deciding whether you’re ready to progress. This structure frees you to progress safely without guesswork.
How Often Should You Ruck Each Week?
With your first two weeks mapped out, the next question is how often you should actually lace up. Start with 1–2 rucks weekly, giving your body room to adapt without breaking down. As strength builds, progressive overload takes over: add a third session, then push toward the 2–4 range most people thrive on. Those already active can handle 3–4 rucks per week once conditioning improves.
Non-consecutive days matter—your joints and muscles need 2–3 days between sessions to rebuild stronger, not just tired. Skip the daily grind; overtraining stalls progress faster than it builds it. Pair every ruck with real recovery nutrition—protein and hydration—so your body repairs efficiently between efforts. Rucking should also be limited to a maximum of two sessions per week when paired with heavy leg lifting days.
Once weekly rucking feels easy, you’ve earned the freedom to scale up toward 3–5 sessions, training on your terms, not someone else’s rulebook.
Add Weight Without Getting Hurt
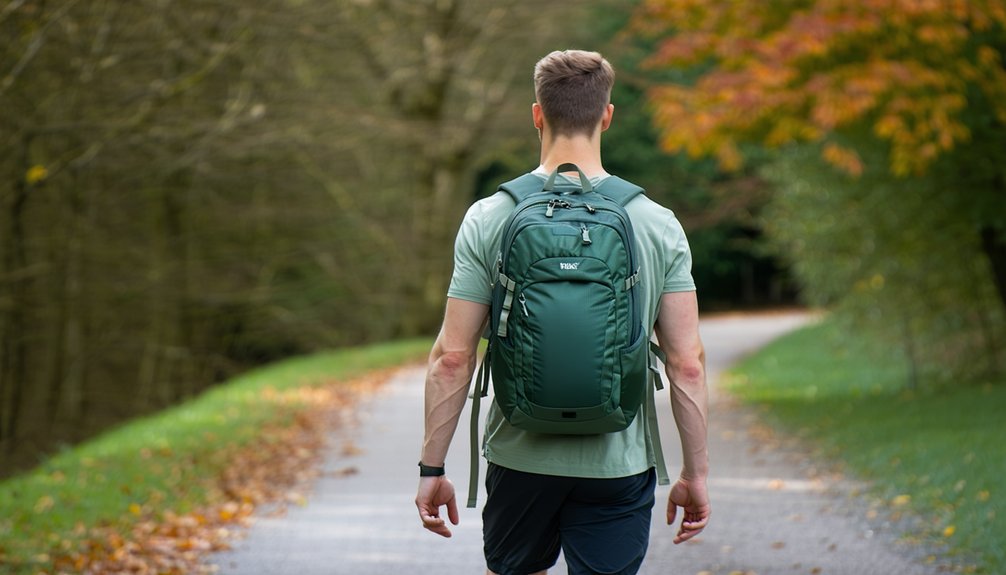
Loading up too fast is the fastest way to turn a good habit into an injury.
Once your starting weight feels comfortable with good posture, add 5 pounds a week—or smaller 2–5 pound jumps if you want tighter control.
Hold that new load for 3–4 weeks before increasing again, and never bump weight and distance in the same week.
Keep total weekly volume (weight × distance) under a 10% increase.
Watch your breathing mechanics closely: if you can’t hold a full sentence in conversation, drop 5 pounds immediately.
Recovery matters as much as loading—if you’re not bouncing back, build in a progressive deload before pushing further.
Freedom on the trail comes from patience now, not heavier plates today.
Get Your Rucking Posture and Stride Right
Weight on your back means nothing if your form falls apart underneath it. Run through a quick posture checklist before every ruck: spine tall, eyes 10–15 feet ahead, chin level, and a slight forward lean from the ankles—not the waist. Roll your shoulders back, open your chest, and engage your core without gripping it tight.
Your stride cadence matters just as much. Shorten your steps so your foot lands under your hips, and aim for 110–120 steps per minute. Skip the long strides—they overload your joints and throw off your balance. Roll smoothly through the midfoot instead of pounding your heels.
Keep your knees soft, arms swinging naturally at 90 degrees, and breathe deep into your belly. This is what real, sustainable strength looks like.
Pick the Right Terrain for Early Training
Regarding building a solid foundation, pavement is your best starting point. Spend 4–8 weeks here, rotating flat rucks twice weekly at 17–19 minutes per mile. Watch for traffic, curbs, and cracks, and check safety signage around construction zones or detours that might redirect your route unexpectedly.
Once flat ground feels natural, add hills to build strength. Increase vertical gain by 400–500 feet weekly, use trekking poles on steep sections, and strike midfoot on ascents to protect your Achilles.
Trails come next—mix in one weekly session once you’re steady on pavement. Wear supportive boots, watch surface drainage after rain (it creates hidden slick spots), and stay alert for roots and loose gravel that threaten your footing and freedom of movement.
Warm Up Before You Ruck

Skipping your warm-up isn’t an option if you want your joints and muscles ready for pack weight. Give yourself 10–20 minutes, starting with a two-minute easy walk to build rhythm and prime your breath before you ever touch the pack.
Move from general motion into explosive activation: leg swings, ankle circles, butt kicks, and walking lunges with a torso twist to open your hips and calves. Layer in shoulder raises, arm circles, and cat-cow to wake up your traps and spine.
Progress from slow air squats and push-ups into normal-speed reps, then squat jumps, fast push-ups, and 30 skips. Finish with light sandbag power cleans and prying goblet squats—your body’s earned the freedom to move under load.
Stretch and Recover After Every Ruck
Once you’ve shouldered the pack for miles, don’t just stop and collapse—your body needs a deliberate wind-down, not an abrupt halt. Walk slowly for 5–10 minutes, letting your heart rate settle while you breathe deep. This is post ruck mindfulness in action: staying present with your body instead of crashing onto the couch.
Stretch your calves, hamstrings, quads, hip flexors, and lower back—hold each position 20–30 seconds. Foam roll tight spots, use a massage ball on your traps, and try lizard stretches for deeper hip release.
Hydrate, eat protein and carbs, and prioritize 7–9 hours of sleep in a cool, dark room. Track your recovery alongside your mileage—progress tracking isn’t just about distance. It’s about how efficiently you bounce back, ready for the next ruck.
Common Rucking Mistakes That Cause Injury
Because rucking looks simple, most beginners assume there’s nothing to get wrong—and that assumption is exactly what lands them with shin splints, Achilles pain, and lower back strain.
The culprit is usually rushed load progression: jumping weight or distance by more than 10% weekly overwhelms tissue before it adapts. Poor posture compounds the damage—hunching, hinging at the hips, or skipping core engagement misaligns your entire frame under load.
Gear mistakes matter too. Cotton socks undermine blister prevention by trapping moisture, while worn-out shoes strip away traction and support. Add in neglected hydration strategies and skipped strength work, and you’ve built a body unprepared for the demand.
Ignoring pain signals seals the deal. Rucking rewards those who train smart, not those who push blindly through warning signs.
Frequently Asked Questions
Can Rucking Replace My Regular Gym Workouts Entirely?
No, it can’t fully replace lifting. Use rucking as your cardio substitution while keeping strength balance intact—build a lunge, squat, and deadlift foundation, then let rucking free you from the gym on non-lifting days.
Is Rucking Safe to Do While Pregnant?
Yes, rucking’s generally safe with proper prenatal modifications: light weight, conversational pace, good posture. Get medical clearance first, and stop if you feel pelvic floor discomfort or pain—your body, your call, so listen closely and move freely.
Can Kids or Teenagers Safely Participate in Rucking?
Yes, teens can ruck safely if you follow growth safety guidelines: keep loads under 10% body weight, use child specific gear that fits properly, never run with weight, and prioritize core strength first.
Does Rucking Help With Weight Loss Over Time?
Yes—rucking helps you build a calorie deficit while enhancing muscle, reshaping your body composition over time. You’re burning more, building strength, and freeing yourself from monotonous cardio. Stay consistent, and sustainable fat loss follows naturally.
Can I Ruck Every Day if I Feel Fine?
You can, but only if you keep it light—10-15 lbs, 1-2 miles, easy pace. Prioritize daily recovery, adopt gradual progression, and you’ll build lasting freedom without burnout or injury sidelining your momentum.
Conclusion
You don’t need fancy equipment or a gym membership to build real strength—you just need a pack, some weight, and the willingness to walk. Start light, stay consistent, and let your body adapt before you push distance or load. Rucking rewards patience: your joints, posture, and cardiovascular system all benefit when you progress gradually. Grab your gear, hit the trail, and let each step build the strength you’re after.
References
- https://www.goruck.com/blogs/news-stories/the-beginners-guide-to-rucking
- https://www.gym-flooring.com/blogs/training/rucking-for-beginners-your-comprehensive-guide-to-getting-started
- https://blog.melissau.com/p/how-to-ruck
- https://tacticalbarbell.com/forum/viewtopic.php?t=976
- https://www.goruck.com/pages/get-started-rucking
- https://www.youtube.com/watch?v=BzqTp4zR-is
- https://www.youtube.com/watch?v=xNIjBgGv4hc
- https://www.nike.com/a/what-is-rucking
- https://health.clevelandclinic.org/what-is-rucking
- https://www.strongfirst.com/how-to-ruck/

