
You can build strong, stable legs without aggravating your knees by controlling angles, keeping weight in your heels, and respecting tissue tolerance. Choose low-impact moves like glute bridges, step-ups, and isometric holds, staying within 8–15 reps and a 0–5 pain scale. Train 2–3 non-consecutive days, monitor recovery, and progress tempo and resistance gradually. Command these principles now, and you’ll uncover exactly how to put them into practice.
TLDR Key Takeaways
- Control range of motion and squat depth, keeping knee flexion shallow to avoid excessive compressive forces.
- Distinguish normal muscle soreness from sharp joint pain, staying within a 0–5 pain scale during exercise.
- Train 2–3 non-consecutive days weekly, allowing recovery time to prevent inflammation and joint stress.
- Keep weight in heels during squats to reduce forward knee translation and activate glutes and hamstrings.
- Strengthen posterior chain and hip stabilizers with bridges, RDLs, and clamshells to protect knee alignment.
Know What Makes an Exercise Knee-Friendly
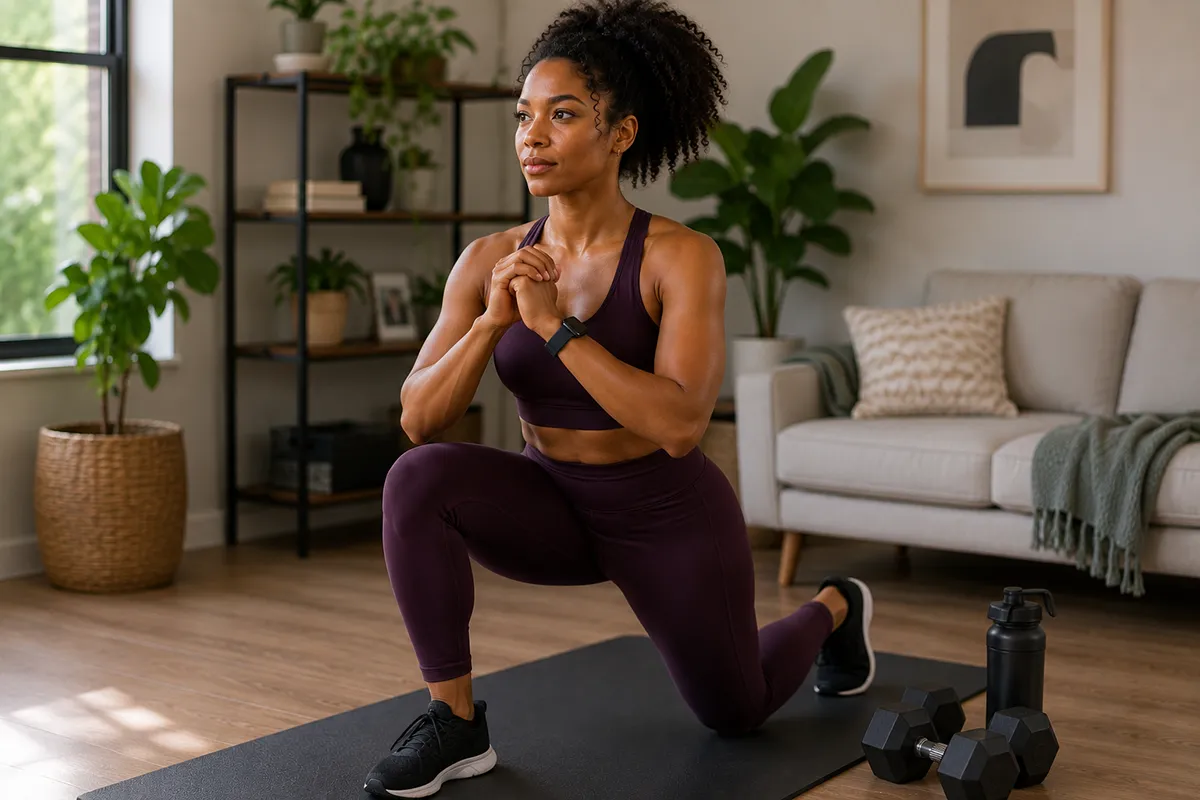
Understanding what makes an exercise knee-friendly starts with controlling angles and range of motion. You keep flexion at 40 degrees or lower during isometric single-leg extensions, and you avoid deep squats where compressive forces spike. Wall sits at 90 degrees challenge your quads without punishing your joints.
Movement mechanics matter just as much. You keep your knee aligned over your foot, drive through your heel, and prevent valgus collapse to minimize shear forces. Shifting weight back while hinging from the waist protects your anterior knee. The box squat reinforces this hip-hinge pattern by using a box behind you as a safety catch, reducing squat depth and knee stress compared with a full squat.
Respecting tissue tolerance means choosing low-impact options—swimming, cycling, or reverse sled drags—over high-jarring movements. You strengthen supporting muscles like hips and glutes indirectly, building stability without forcing your knees past their limits. Exercises like clamshells isolate the gluteus medius to stabilize the pelvis and prevent knee collapse without adding joint stress. Movements such as the staggered deadlift shift most of your bodyweight onto the front foot, reinforcing controlled hip hinging while sparing the knee joint. This is how you train smart and move freely.
Keep Your Weight in Your Heels During Squats
Squat mechanics hinge on where you place your weight, and your heels deserve the load. Proper heel positioning shifts your center of gravity backward, keeping your torso upright and slashing knee shear forces. When you press through your heels, you trigger posterior activation—engaging your glutes and hamstrings to stabilize the knee joint from the ground up.
Let weight drift onto your toes, and you drive your knees forward, piling compressive stress onto your patellofemoral joint. Heel-loaded squats let your hips track properly, keeping your knees from caving inward as you descend. Just know that deep squatting with heel weight demands adequate ankle dorsiflexion, so your knees can travel over your toes without strain. Beginners who struggle with this often have underlying hip mobility limitations rather than true ankle restriction. Expert this positioning, and you reclaim control over every rep.
Know the Difference Between Discomfort and Pain
Because your knees can’t speak, you have to read their signals correctly, and that starts with distinguishing normal training discomfort from actual pain. Pain education means knowing that muscle burning, mild stretching, and DOMS 24-48 hours later are normal—your body adapting to work. Joint pain is different: it’s sharp, localized inside the knee, and rated above 5 out of 10. That’s your cue to stop immediately. Try to keep exercise-related pain within 0–5 on the pain scale to ensure you’re working at a safe level.
Movement mindfulness helps you catch the difference in real-time. Muscle soreness feels diffuse and improves with gentle motion. Joint pain stays pinpointed, often worsens with continued movement, and may bring stiffness the next morning. If pain forces you to change your form, shift your weight, or lose range of motion, you’re not building strength—you’re risking injury. Before progressing weight or intensity, always assess your knees using isometric holds as a test of readiness. If severe pain or unusual symptoms occur, you should stop the exercise entirely. Trust your body’s data, not your ego.
Follow the Right Sets and Reps for Knee Safety
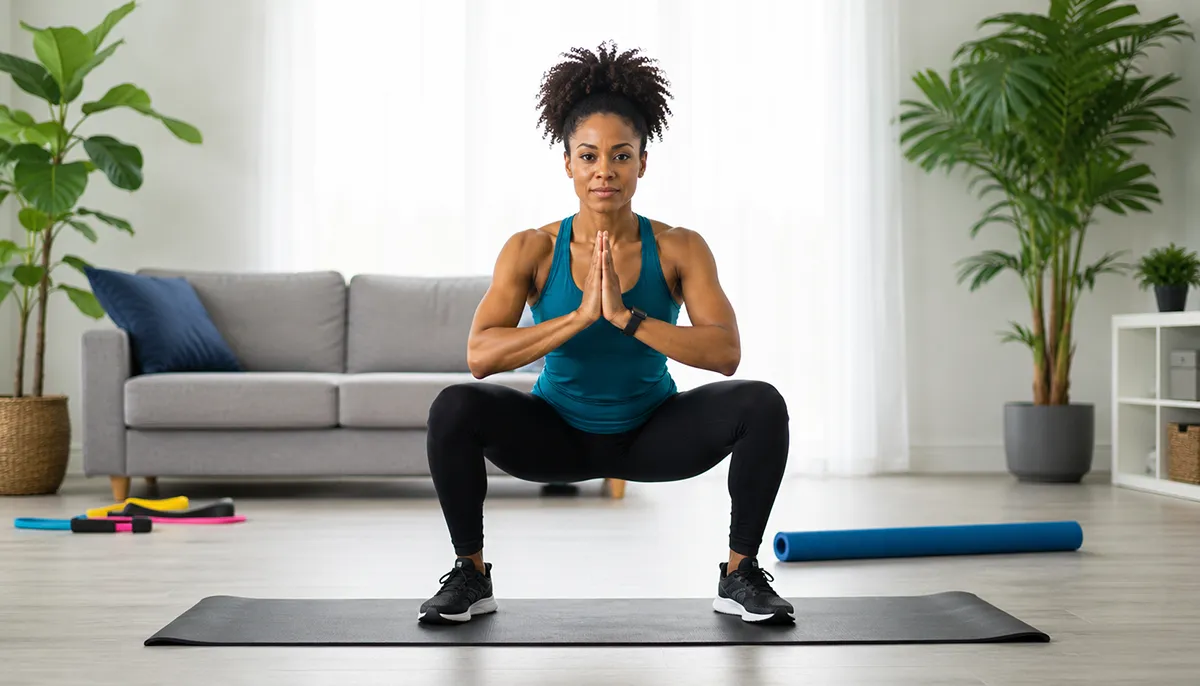
Once you’ve learned to read your knee’s signals, the next step is dialing in your training volume—since sets and reps matter just as much as exercise selection.
For most knee-friendly moves like chair squats and hamstring stretches, stick to 2 to 3 working sets. Squats respond well to a rep range of 8 to 15, while leg press demands 12 to 20 reps to protect sensitive joints. Single-leg exercises, like straight-leg raises, call for 2 to 3 sets of 8 to 12 reps—3 sets of 10 per leg when seated. Never drop below 10 reps per set; that’s your floor for joint safety. Pair this volume with a joint friendly tempo, moving deliberately rather than rushing through fatigue. Precision beats intensity every time, and progressions such as the single-leg hip hinge should only be added once basic form is mastered. This approach reflects progressive overload, a principle supported by research for building strength around the knee without overloading the joint. Leg extensions can also be progressed gradually by adding ankle weights as the movement becomes easier over time.
Set the Right Training Frequency for Recovery
Rarely do knees benefit from daily training—recovery happens between sessions, not during them. Smart activity scheduling means 2–3 non-consecutive days weekly, like Monday, Wednesday, Friday, giving inflammation time to subside.
Beginners start with 2 days, progressing to 3 only after 4–6 weeks of pain-free performance. Skip more than 3 sessions weekly without modification—it invites joint irritation.
Your recovery biomarkers tell the real story. Morning stiffness, swelling, or pain lasting beyond 24 hours signals you’re pushing too hard—cut back one session until symptoms clear. If pain does occur during any exercise, consult your doctor or physical therapist before continuing the program.
Stable lateral walks, wall sits, and glute bridges without discomfort confirm you’re ready to progress. Strength gains supporting 3–4 sets of 20–30 second holds mean your knees can handle more volume.
Train smart, not just often—your knees will thank you with lasting strength and freedom of movement.
Build Quad Strength Without Bending Your Knees
Timing your sessions right sets the stage, but the real strength gains come from choosing exercises that spare your knee joint entirely. Isometric lifts let you build power without a single degree of joint movement.
Lock your knee straight, lift to the height of the opposite knee, and hold 3 to 5 seconds. Place a rolled towel under your knee and press down for quad sets—this drives VMO activation, the key to knee stability. This approach is especially useful since weak or tight quads can prevent proper knee support, leading to instability and wear.
Hold 5 to 10 seconds, keeping glutes and hamstrings relaxed. Watch your kneecap pull upward as proof of correct engagement. Pull your belly button toward your spine to protect your lower back. If you find these isometric holds effective, you can gradually progress toward moderate rep ranges like 8–15 reps once you’re ready for more dynamic loading.
Aim for 3 sets of 15 reps per leg, isolating quads completely—no hip flexors, no compromise. Once basic quad sets feel controlled, straight leg raises are a natural next step, avoiding compression behind the kneecap while strengthening the hip flexors and core.
Strengthen Glutes and Hamstrings to Protect Your Knees
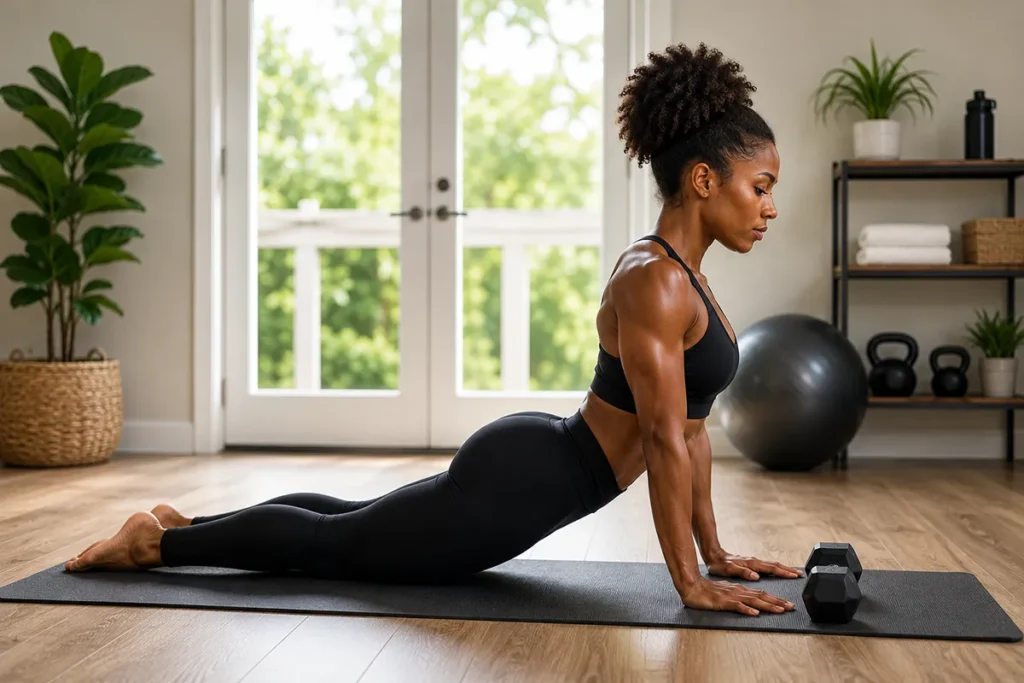
While your quads take center stage in knee stability, your glutes and hamstrings do the heavy lifting behind the scenes—literally. Strong posterior chain muscles absorb stress that would otherwise land on your knees, freeing you to move without fear.
Glute bridges build glute activation while keeping knees fixed—squeeze hard at the top, then lower with control.
Shift feet farther from your glutes to recruit more hamstring endurance, or try single-leg bridges to challenge stability.
Romanian deadlifts reinforce this pattern: push your hips back, keep a slight knee bend, and feel tension load into your hamstrings and glutes.
Hip thrusts, sumo deadlifts, and kettlebell swings round out your arsenal—all minimizing knee flexion while maximizing posterior strength. Compared to a standard deadlift, the Romanian deadlift involves less knee flexion, keeping the emphasis on your hips and hamstrings rather than your knees.
Train these muscles consistently, and you’ll move with power, not pain.
Improve Hip Stability for Better Knee Alignment
Your glutes and hamstrings don’t work in isolation—they depend on stable hips to function correctly. When your gluteus medius weakens, your hips drop and your femur rotates internally, throwing off femoral tracking and loading your medial knee compartment. That’s not a minor issue—nearly 70% of knee pain cases trace back to hip instability.
You don’t need complicated fixes. Clamshells, lateral band walks, and single-leg balances rebuild the pelvic control your knees rely on. Start with 3 sets of 15 clamshells per side, or 10 steps each direction for band walks. Hold single-leg balances for 30 seconds without wobbling.
Tight hip flexors limit extension, forcing your knees to compensate. Foam roll first, then stretch. Your knees will thank you.
Master Knee-Safe Step-Ups and Lunges
Step-ups and lunges build serious strength, but sloppy mechanics turn them into knee-pain generators fast. Plant your whole foot on the step, keep your heel down, and align your knee over your ankle, tracking between your first and second toes. Pull yourself up using quads and glutes—don’t push off your back leg. Lean slightly forward to fire your glutes and spare your patellar tendon.
Master tempo control on the descent: take twice as long lowering as you did lifting, landing silent like a ninja. Start with a 3–5 inch step, ditch your shoes to sharpen foot proprioception, and use a rail if balance feels shaky. For lunges, try reverse step-backs if forward versions irritate your knees. Progress only after form’s locked in—your joints will thank you.
Sculpt Your Calves Without Stressing Your Knees
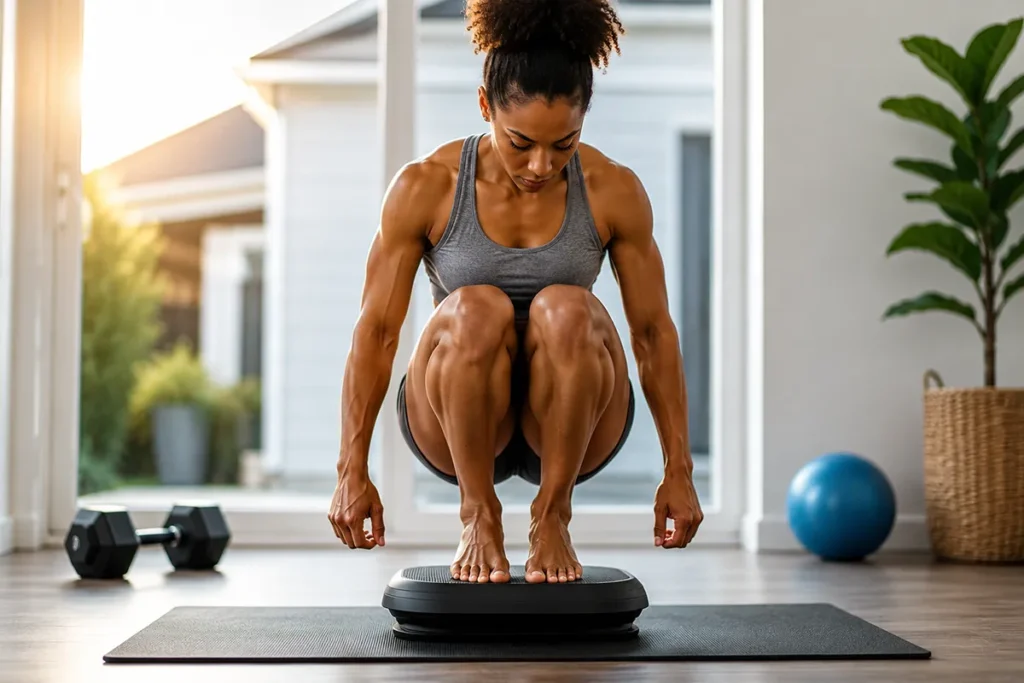
Once you’ve locked down your step-up and lunge mechanics, it’s time to give your calves the same joint-protective treatment.
Stand with hip-width foot placement, ankles and knees aligned, and press into the balls of your feet, rising onto your big toe for 20-30 reps across 2-3 sets. Use a wall or chair for balance if needed.
Seated variations with resistance bands build calf aesthetics without knee strain—push through the balls of your feet for 3 sets of 10.
Machine presses and step stretches target your soleus by lowering heels below platform level.
Single-leg work sharpens balance while protecting joint alignment.
Finish with toe curls to build toe dexterity—10 reps, holding each for 10 seconds, backing off before cramping hits.
Add Low-Impact Cardio to Your Knee-Friendly Routine
Building calf and quad strength sets the stage for cardio that won’t punish your joints. Now you’re ready to move—really move—without fear.
Elliptical intervals give you controlled resistance and a cardiovascular challenge minus the pounding a treadmill delivers. Alternate high and low effort to build endurance while your knees stay protected throughout the motion.
Water jogging offers another powerful option. The pool’s buoyancy strips away weight-bearing stress, letting you push your pace and build stamina without joint consequences. Combine this with swimming or water aerobics for variety.
Rowing machines and stationary bikes round out your low-impact arsenal, engaging major muscle groups while eliminating harmful impact.
Start slow, maintain proper form, and increase intensity as your fitness improves. Your knees—and your freedom to move—depend on it.
Progress Your Routine as Your Knees Get Stronger
Your knees won’t stay static, and neither should your training. Start with bodyweight, shallow ranges, and 20–30 second holds for 3–4 sets. As your foundation solidifies, extend hold duration and layer in progressive resistance through bands, dumbbells, or kettlebells. Swap static wall sits for banded lateral walks, and evolve glute bridges into single-leg abduction combinations once stability improves.
Tighten your tempo, too. Hold 2–3 second eccentric phases, pause at the top of presses or bridges, and shrink rest intervals from 90 seconds down to 45–60 seconds to build metabolic demand. Push session length from 20–30 minutes toward 35–45 minutes as recovery allows. Your knees adapt when you challenge them deliberately—so keep raising the bar, not the risk.
Frequently Asked Questions
Can I Do These Exercises if I Have Arthritis or a Previous Knee Injury?
Yes, you can—but you’ll need to modify intensity first. Stick to pain-free ranges, use light resistance, and avoid exercising during flare-ups. Always consult a specialist before starting, so you progress safely toward true strength and freedom.
What Shoes or Footwear Are Best for Knee-Friendly Leg Workouts?
Choose stable shoes with firm arch support and a low heel drop for lifting, plus cushioned sneakers with rocker soles for walking or running. You’ll move confidently, protect your knees, and reclaim pain-free strength on your own terms.
Should I Warm up Before Starting These Knee-Friendly Exercises?
Yes, you must warm up. Spend 5–10 minutes on light cardio and energetic stretches to enhance blood flow, activate your glutes and hamstrings, and lubricate your joints—freeing your knees to move powerfully and pain-free.
Can I Combine These Exercises With Physical Therapy Treatments?
Yes, you can combine them—just talk to your physical therapist first. They’ll align these movements with your current exercise progression, ensuring you build strength safely without disrupting healing. This partnership enables you to reclaim control over your recovery path confidently.
How Soon Will I Notice Improvements in Knee Strength and Stability?
You’ll likely notice real gains by week 6, with power surging through week 12. Trust these progress timelines, stay consistent with sessions, and use symptom tracking to confirm your improvements—your strength, your evidence, your freedom.
Conclusion
Your knees don’t have to hold you back. When you train smart—keeping weight in your heels, respecting the line between discomfort and pain, and progressing gradually—you build strength without setbacks. Command proper form on squats, step-ups, and lunges, layer in low-impact cardio, and give your body time to recover. Stick with this approach, and you’ll develop stronger, more stable knees while gaining the confidence to keep moving forward.
References
- https://www.healthline.com/health/fitness-exercise/leg-exercises-for-bad-knees
- https://www.reddit.com/r/bodyweightfitness/comments/b0rh4e/good_leg_exercises_that_are_easy_on_the_knees/
- https://learn.athleanx.com/articles/legs-for-men/killer-leg-workout-sore-knees
- https://www.hss.edu/health-library/move-better/exercises-strengthen-knees
- https://www.bodymotionphysio.com.au/the-7-best-exercise-for-knee-stability-and-strength/
- https://www.youtube.com/watch?v=XafRHp89U3g
- https://www.zing.coach/fitness-library/knee-friendly-leg-exercises
- https://www.youtube.com/watch?v=MZJA8znBBIU
- https://www.nourishmovelove.com/leg-workout-bad-knees/
- https://www.solvingpainwithstrength.com/blog/top-10-leg-exercises-for-bad-knees-how-to-exercises-with-knee-pain

